Azure Installation
Instructions for installing and configuring Seq in the Azure cloud
It's easy to install your own Seq instance in the cloud using an Azure Virtual Machine.
Seq requires a virtual machine for Azure hosting. Due to limitations in the available local storage it's not currently feasible to run Seq as an Azure Web App or Cloud Service.
You'll want to run Seq at an SSL endpoint on your own domain, such as https://my-azure-seq.example.com. Because domain and certificate configuration is covered elsewhere, this example skips these steps and configures an instance at http://my-azure-seq.cloudapp.net instead. You'll see an info box like the one below wherever additional steps are required for SSL configuration.
To configure SSL you'll need a Seq license. If you don't have one, grab a 30-day key from the Seq trial page. The process is automated and you'll receive the key to your inbox in seconds.
1. Provision the Virtual Machine
In this step we'll create a new virtual machine to host Seq. If you're using a shared machine, you can skip this step.
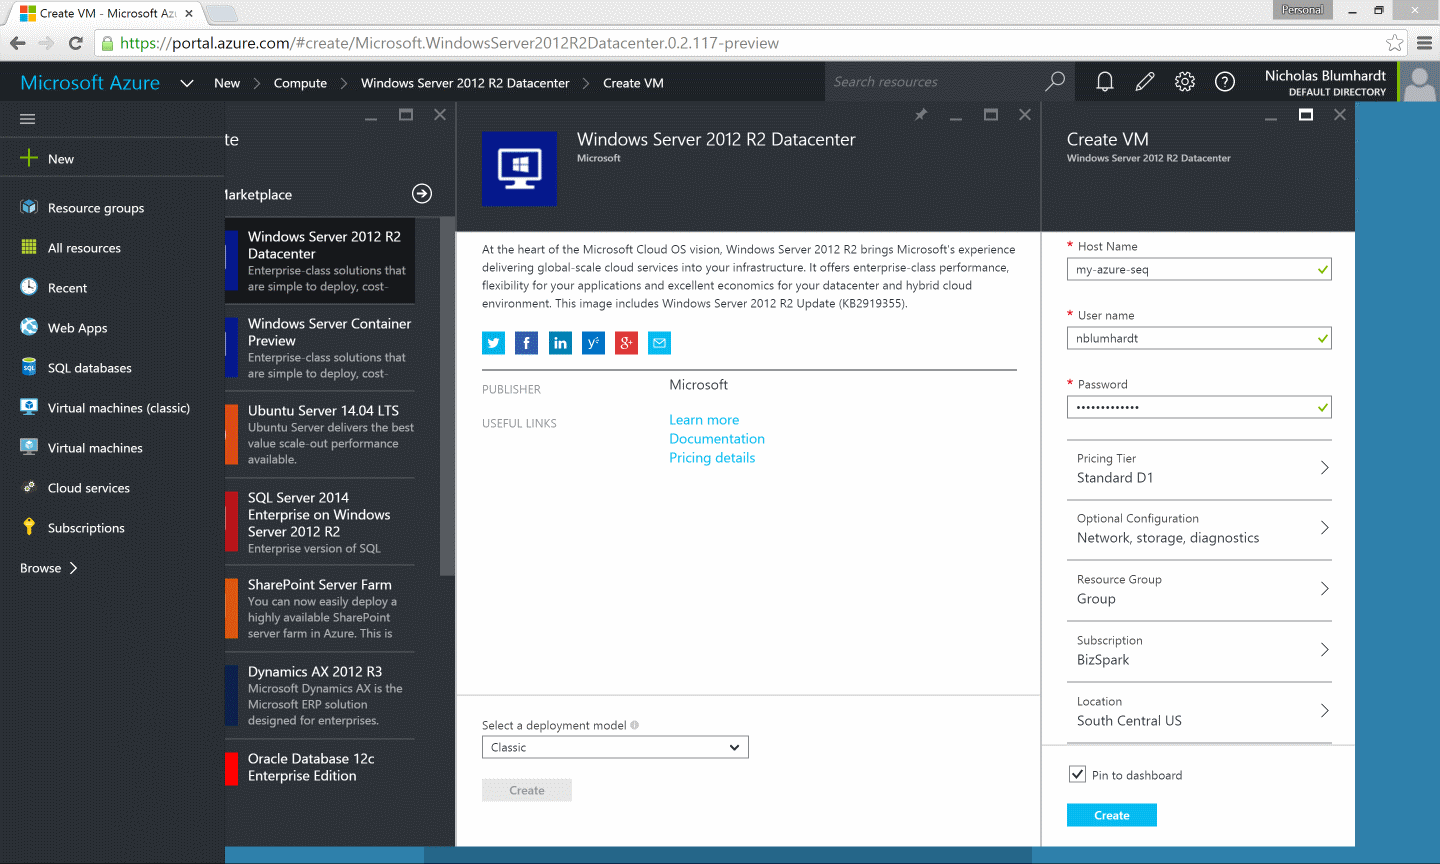
The recommended image for running Seq is the Windows Server 2019 Datacenter compute image. You can provision this from New > Compute > Windows Server 2019 Datacenter.
See System Requirements for some suggestions regarding the tier to use. We've chosen the Standard D1 compute tier here.
2. Install Seq
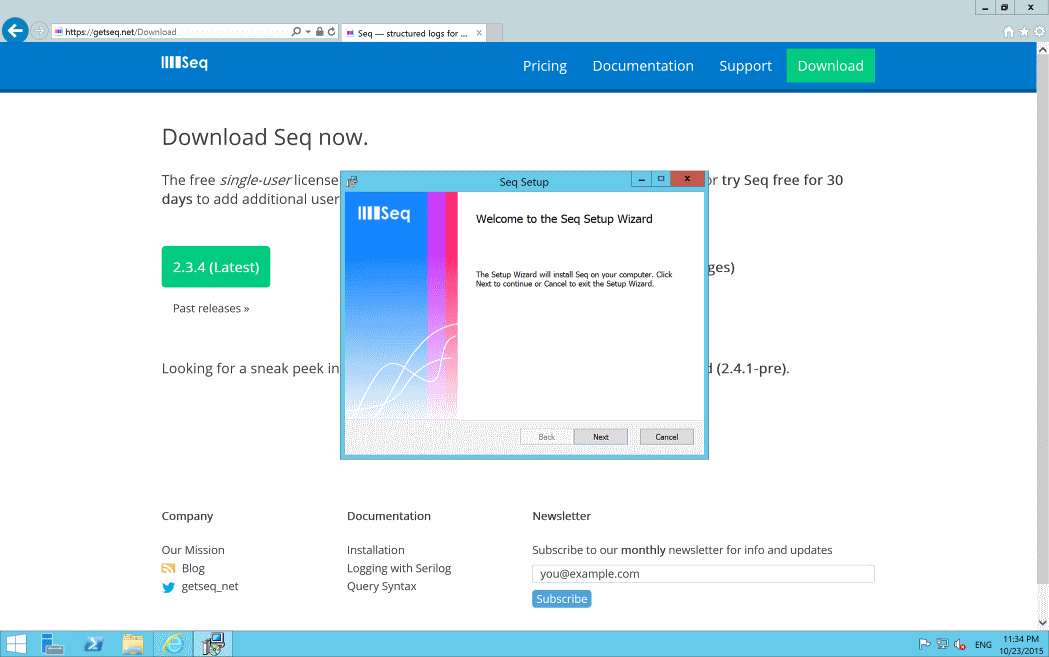
Once the machine is provisioned, use the Connect button to open a Remote Desktop session on the machine.

From this point, install Seq using the Windows Installer from the Seq Download Page.
3. Configure Hostname, Ports and SSL
After the installation process completes, Seq will be running at http://localhost:5341 on the newly-provisioned machine.
- To set a custom hostname such as
my-azure-seq.example.com, or port such as the standard HTTP port 80, or HTTPS port 443, use the instructions in Storage Paths and URLs - To bind an SSL certificate to be used by Seq, use the instructions in SSL.
If you are using a custom domain, it can take several hours to propagate from your registrar/DNS provider. To check if if requests from an external machine are making it all the way to Seq on Azure, run
tracert <hostname>from a command prompt.
4. Configure Windows Firewall
Before Seq will be available to the outside world, it first needs to be exposed by the Virtual Machine.
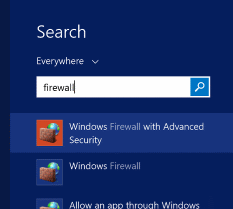
To configure the Windows Firewall using the GUI, first open it from the Start screen:
Then select Inbound Rules on the left, New Rule... on the right, and allow traffic to the appropriate port used by Seq (in this case the default, 5341).
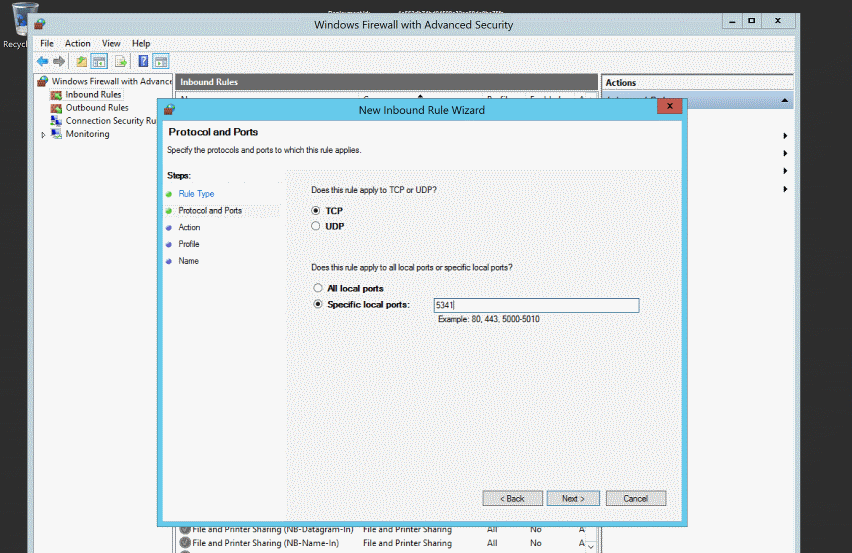
If you are using SSL, choose port 443 here.
Using the command line instead
At an administrative command prompt:
netsh advfirewall firewall add rule name="Open Seq Port 5341" dir=in action=allow protocol=TCP localport=53415. Add Virtual Machine Endpoints
The final step required before Seq will be visible from the Internet is to tell Azure to route external traffic to it.
To do this in the Azure Portal, open the Virtual Machine, select Endpoints, Add Endpoint, and specify the port you are using as below.
If you are using SSL, choose 443 as the public and private ports here.
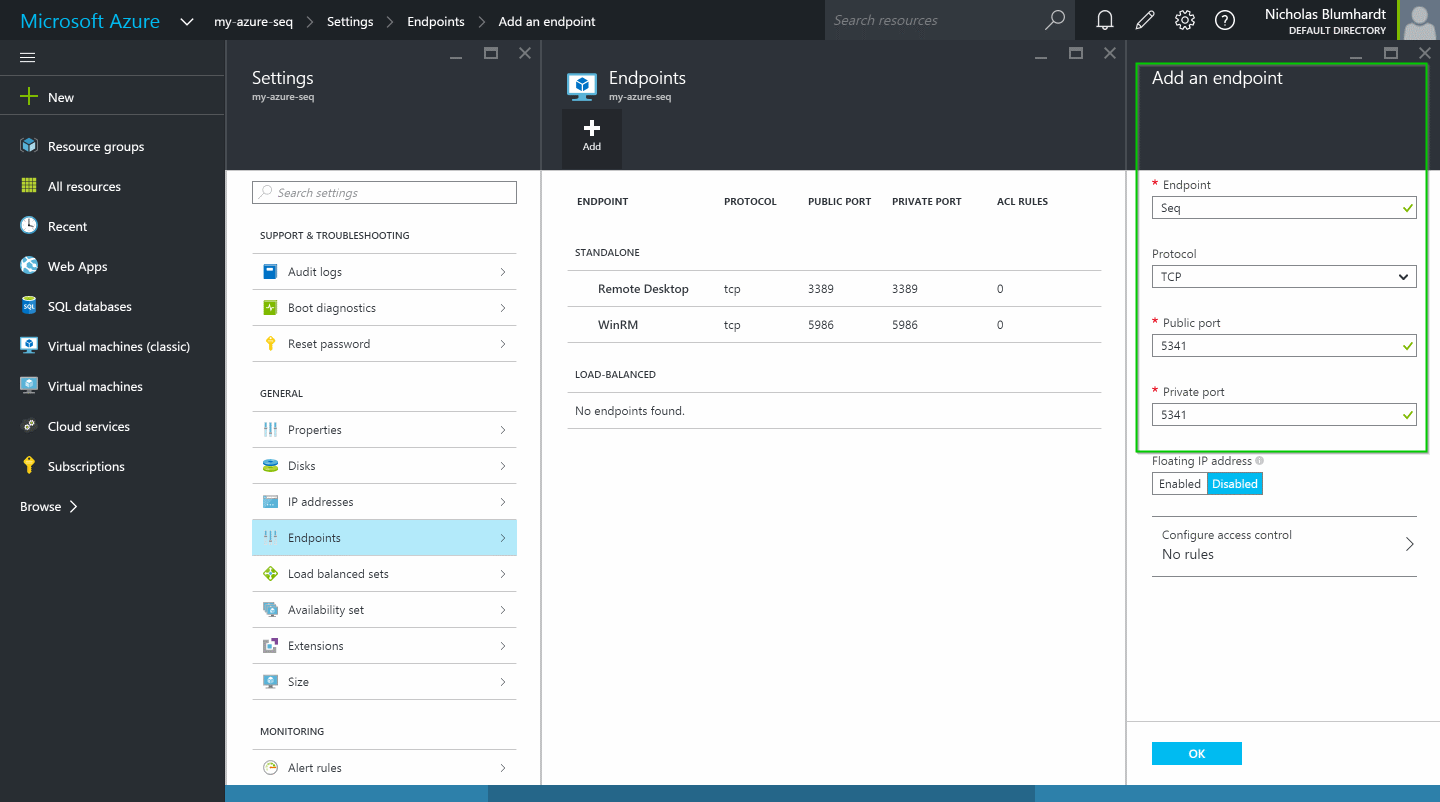
The endpoint won't show up immediately - give Azure a few minutes to add it, after which time it will appear in the list.
6. Enjoy
That's all! You can now browse to Seq from a web browser and should see the events screen:
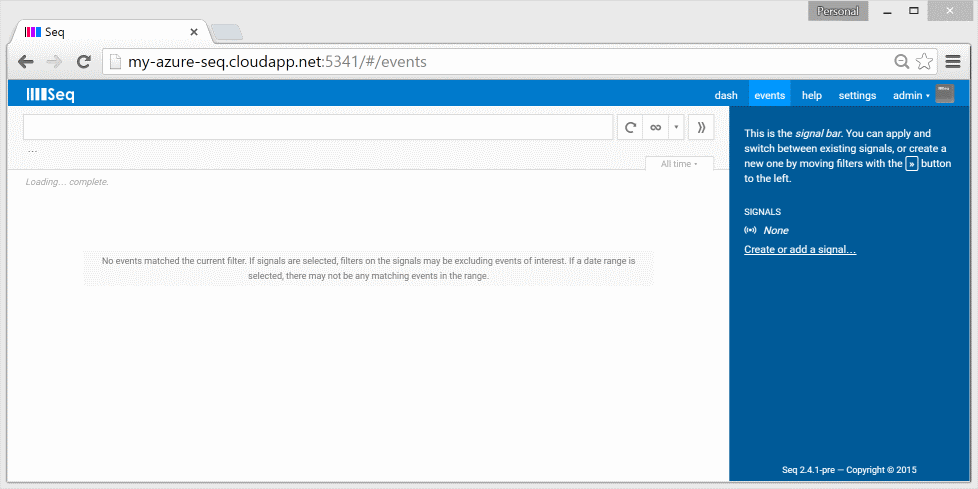
You're ready to start storing and searching log events.
If you hit any issues or Seq doesn't show up in your browser, please let us know so we can help.
Updated 5 months ago
