Managing Users
User accounts provide authenticated access and personalization
When Seq is first installed, it will start in Single User mode.
To create more user accounts in Seq, you'll need a multi-user license. Visit the Seq homepage to get one.
Enabling authentication
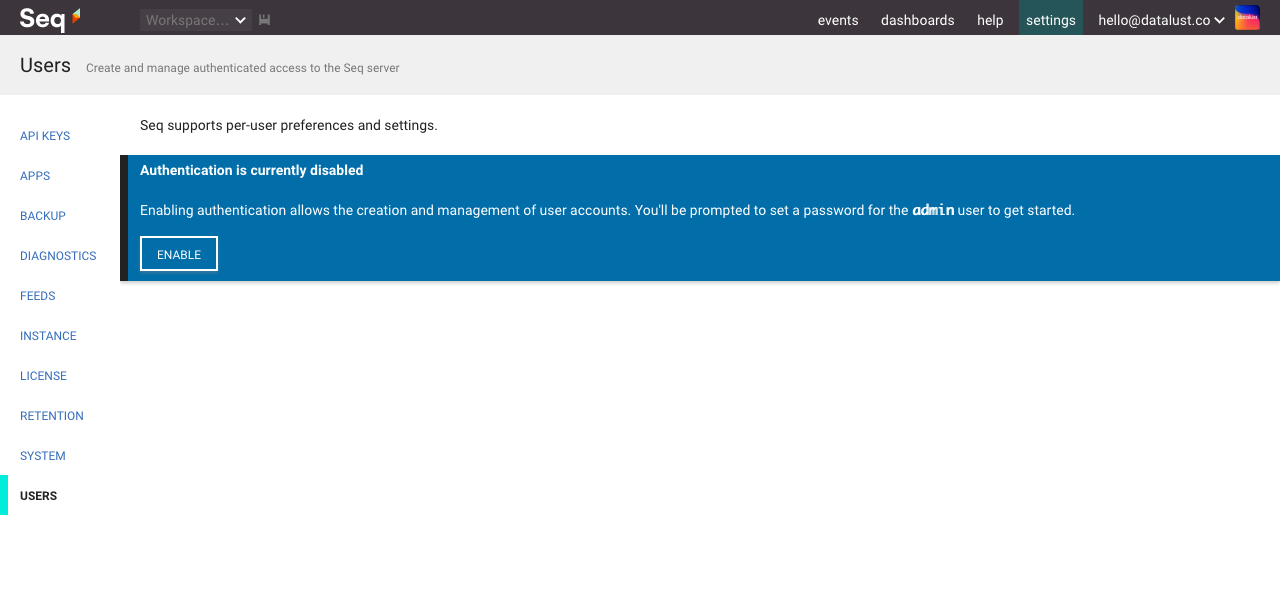
Authentication can be enabled from the Settings > Users screen.

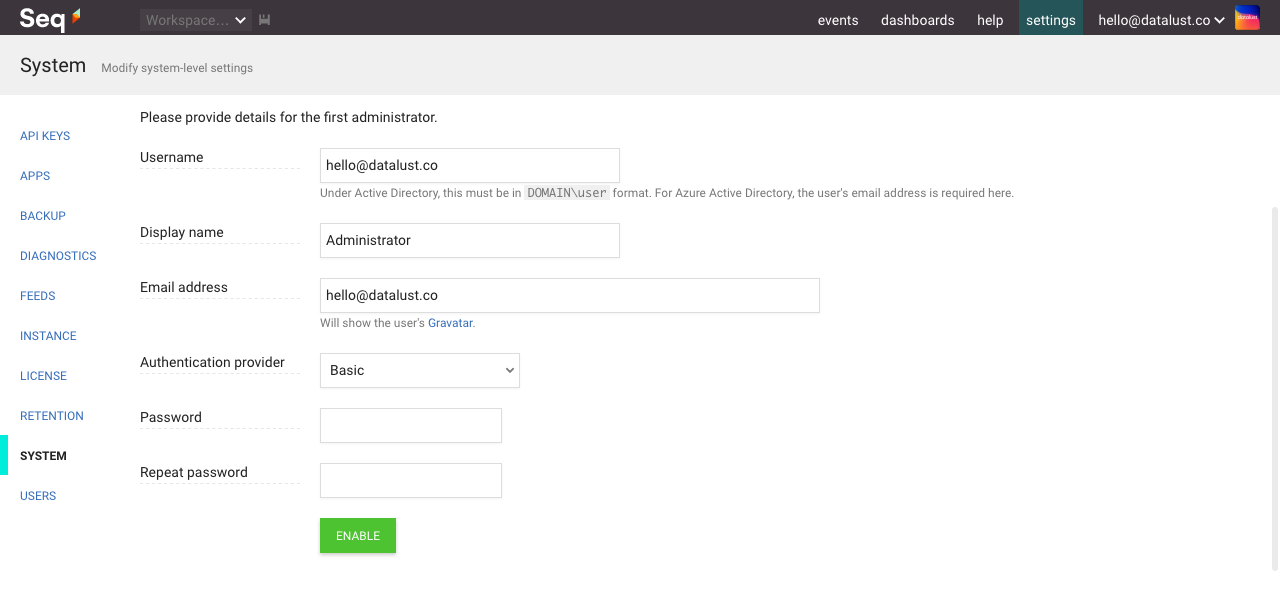
You'll be prompted to enter details for the first administrator account.
Choosing an Authentication Provider
Seq ships with a basic username/password authentication provider. Sensitive, mission-critical deployments should use a full-featured provider that includes MFA support, such as OpenID Connect, Active Directory or Microsoft Entra ID authentication. Check the documentation for information on how to configure these, here.

With authentication enabled, you can now create additional user accounts.
Don't forget that with authentication enabled, you can now require API keys when events are written, too.
Granting permissions
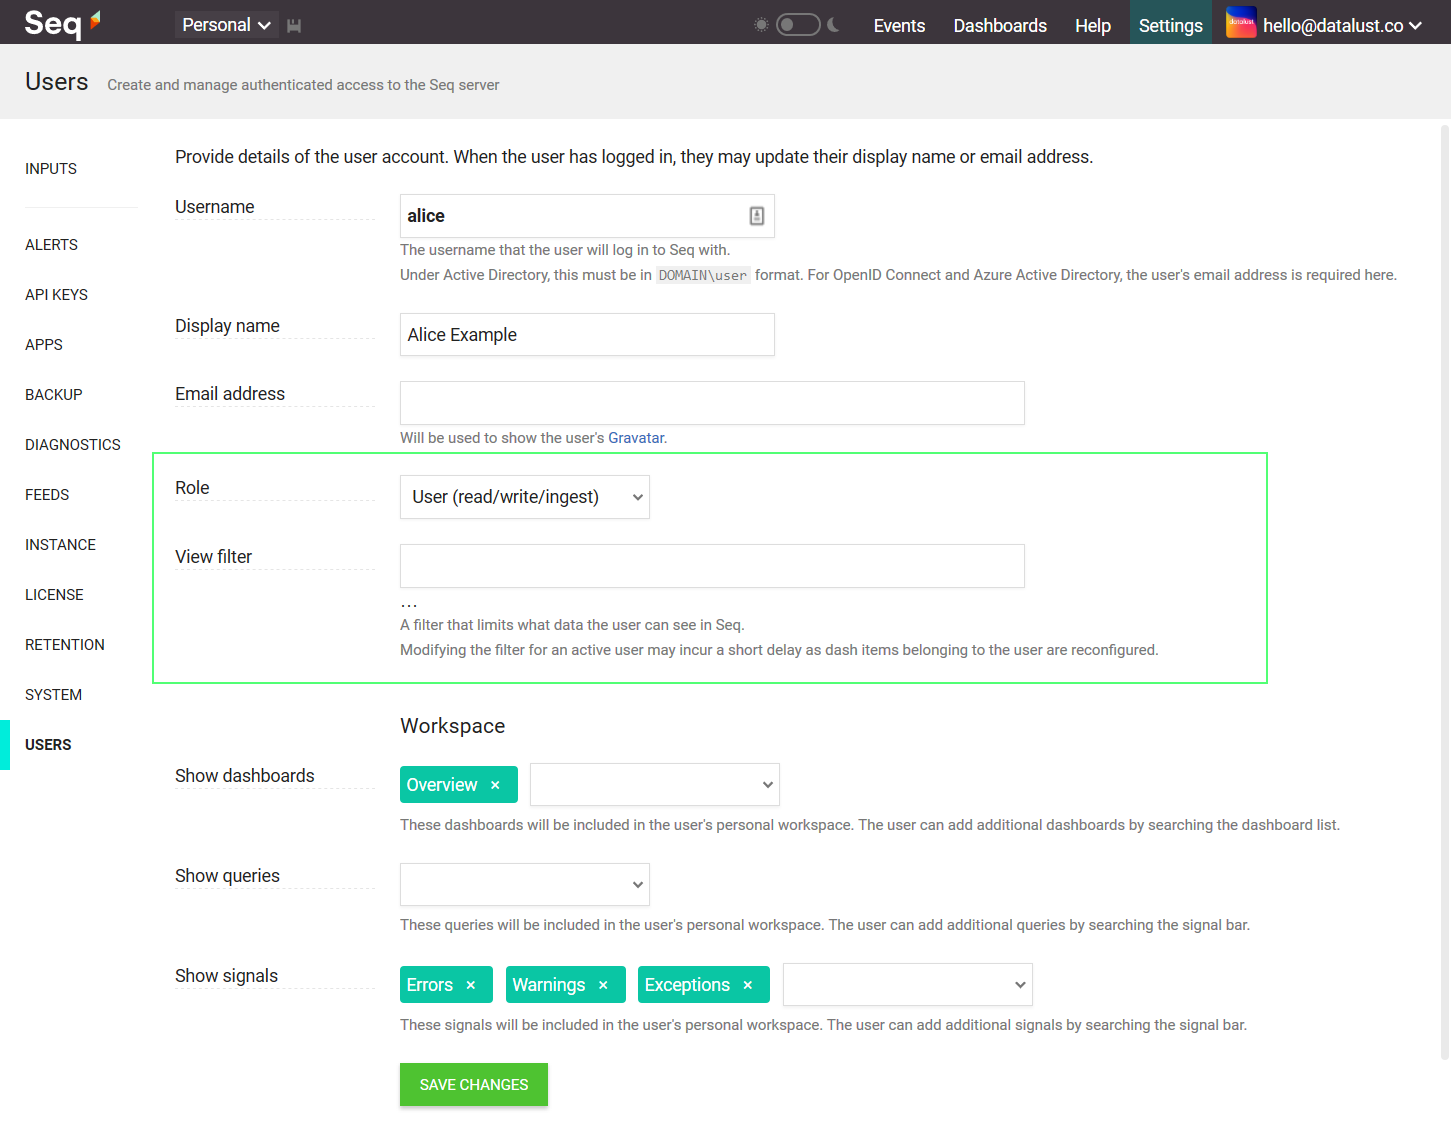
Seq has six built-in user roles. When creating or editing a user account, specify:
- User (read-only) - the user can query events and view dashboards, but not modify anything
- User (read/write) - the user can read and write personal and shared signals, queries, and dashboards
- User (read/write/ingest) - in addition to the read/write permissions, the user can send events through the HTTP ingestion endpoint
- Project Owner - the user has full access to ingestion, retention, and stored event data
- Organization Administrator - the user has all Project Owner permissions, plus user administration
- Administrator - the user has full access to the Seq instance

View filters
Each user may additionally be constrained by a view filter that will limit the data they can view in Seq.
For example, by specifying:
Application = 'Patient Portal'The user will only be able to view and interact with events carrying the value Patient Portal in the Application property.
Only non-administrative users can have filtered views.
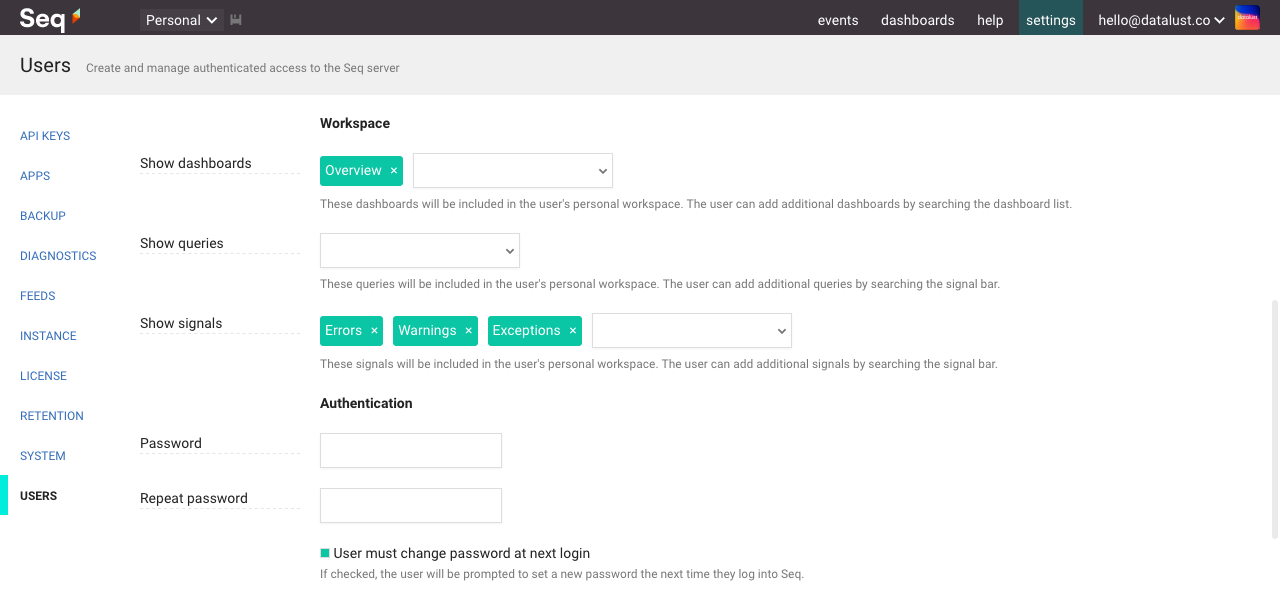
Default workspace
Each user can be configured with a default personal workspace that includes the signals, queries and dashboards that will be visible when first browsing to Seq:

Updated 15 days ago
